Why turn a perfectly good iMac into a monitor?
The 2017 iMac 27" shipped with an LG LM270QQ1 panel — 5120 × 2880, 10-bit colour, and still one of the best displays you can put on a desk. Apple sells the Studio Display with a very similar panel for $1,599. Used 2017 iMacs sit on Marketplace and eBay for $150–300.
You do the math. I did, and then I spent three weekends doing the project.
The one lesson above all others
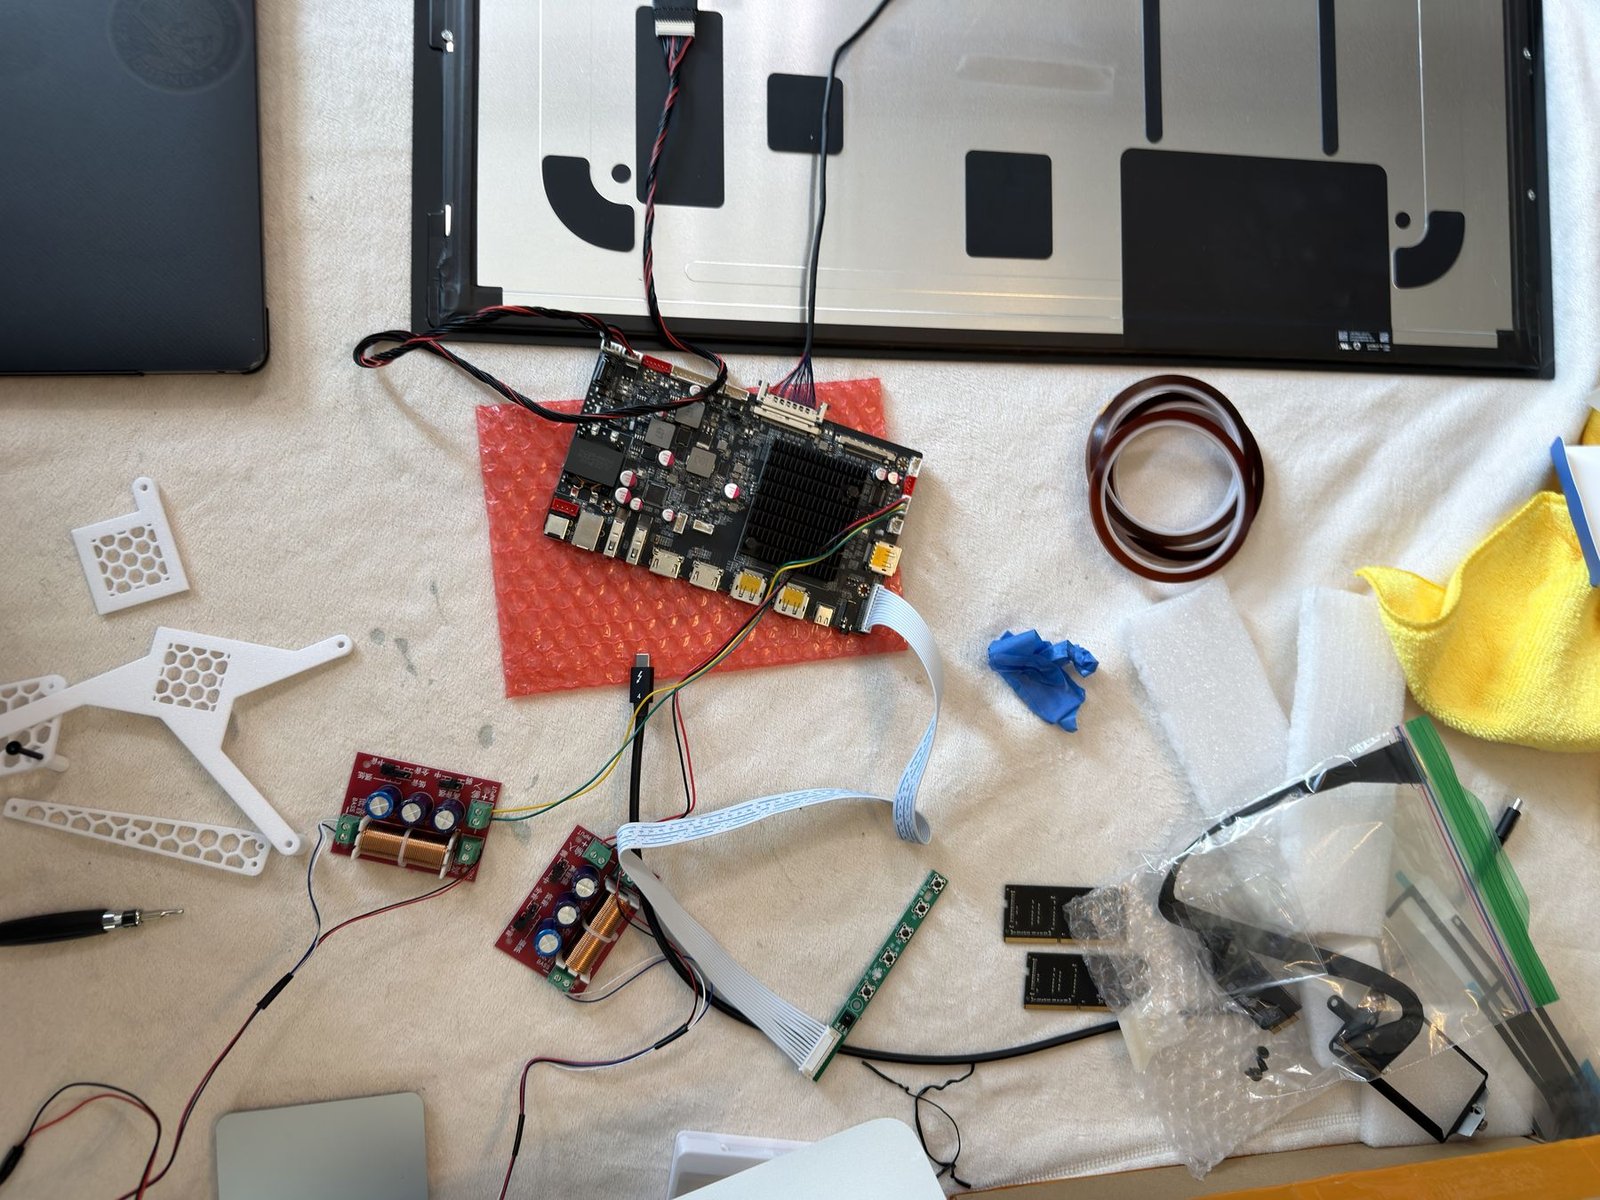
Do not open the iMac until every single part has arrived. The adhesive strips are one-use, the panel is fragile, and your dining table becomes a very expensive parts tray for weeks while you wait on shipping from China. Ask me how I know.
Finding the right iMac
Not all 27" iMacs work for this. The magic model numbers are A1419 (2015–2017) and A2115 (2019–2020). Both use the LG LM270QQ1 or LM270QQ2 panel that the driver board supports. Everything else is a distraction.
What to avoid
21.5" iMacs, the old Apple Thunderbolt Display (2560 × 1440, not 5K), and any listing described as "2019" without confirming it is the A2115. Marketplace search is terrible at filtering — search eBay by model number A1419 instead.
Don't write off your current iMac just yet
My own daily-driver 2017 iMac 27" is still going strong — more RAM, and running macOS Sequoia via OpenCore Legacy Patcher. If your iMac still has life in it, OCLP is worth exploring before you commit to a conversion. I deliberately bought a second iMac to experiment on rather than risk my daily machine, and that turned out to be the right call.
Verifying the panel before you buy
If you are buying locally, power it on, open Terminal, and run:
You are looking for VendorID = 1552 (LG Display) and ProductID = 44563 (LM270QQ1). That is your green light.
Fusion Drive vs SSD
In Disk Utility, check the Connection type. PCI-Express = SSD (faster, worth more). SATA = Fusion Drive (hybrid, slower). For the conversion it makes no difference — you are gutting it either way — but for negotiating, a Fusion Drive machine is worth $30–50 less.
What's next for my daily iMac
Having done this once, I now plan to migrate my work off the in-use 2017 iMac and convert that one too, when the time is right. The Stonetaskin team will know when that day comes.
Choosing the R1820 driver board
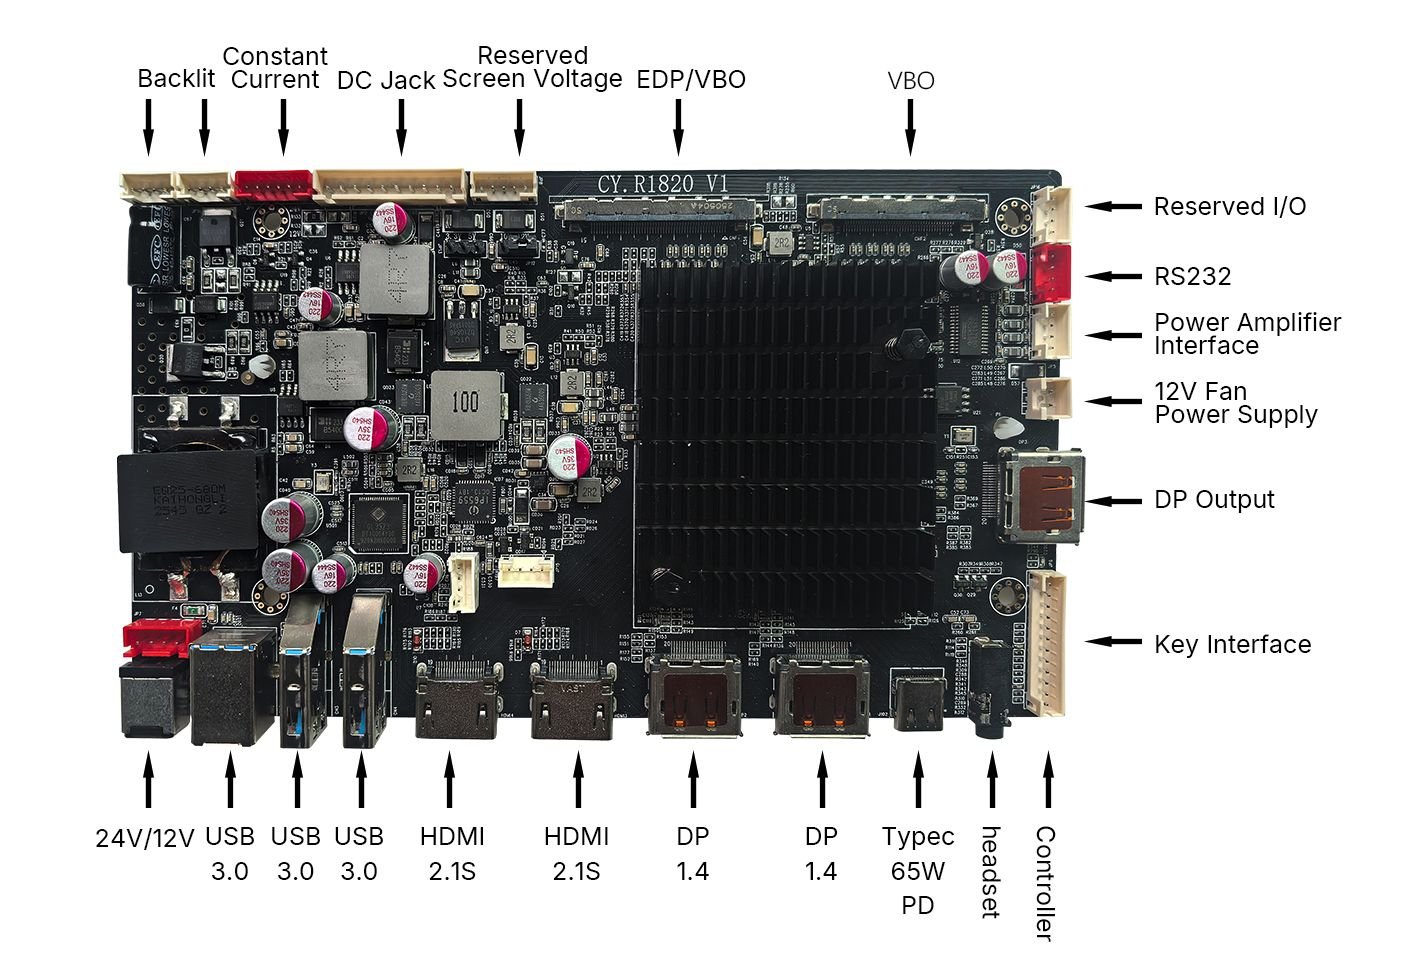
The driver board is the heart of the project. It replaces the entire iMac logic board and tells the 5K panel what to display. Stonetaskin sell a few options — I went with the R1820 V1.0 specifically because I wanted to reuse the iMac's original speakers, and the R1820 has a proper 10 W per channel power amplifier built in.
Why R1820 and not the cheaper SA1
The SA1 costs around $70 less but only has a 3 W per channel amp. The R1820's 10 W amp is what lets you actually use the iMac's speakers meaningfully. It also gives you HDMI 2.1, DisplayPort 1.4, and USB-C with 65 W power delivery. If audio matters to you, pay the difference.
Package C is the right choice
Stonetaskin offer three packages. Package C ($298) includes everything you need: the R1820 board, LCD cable, backlight cable, controller board, remote, 24 V power adapter, and the speaker crossover boards. Do not try to buy these separately — Package C works out cheaper and guarantees compatibility.
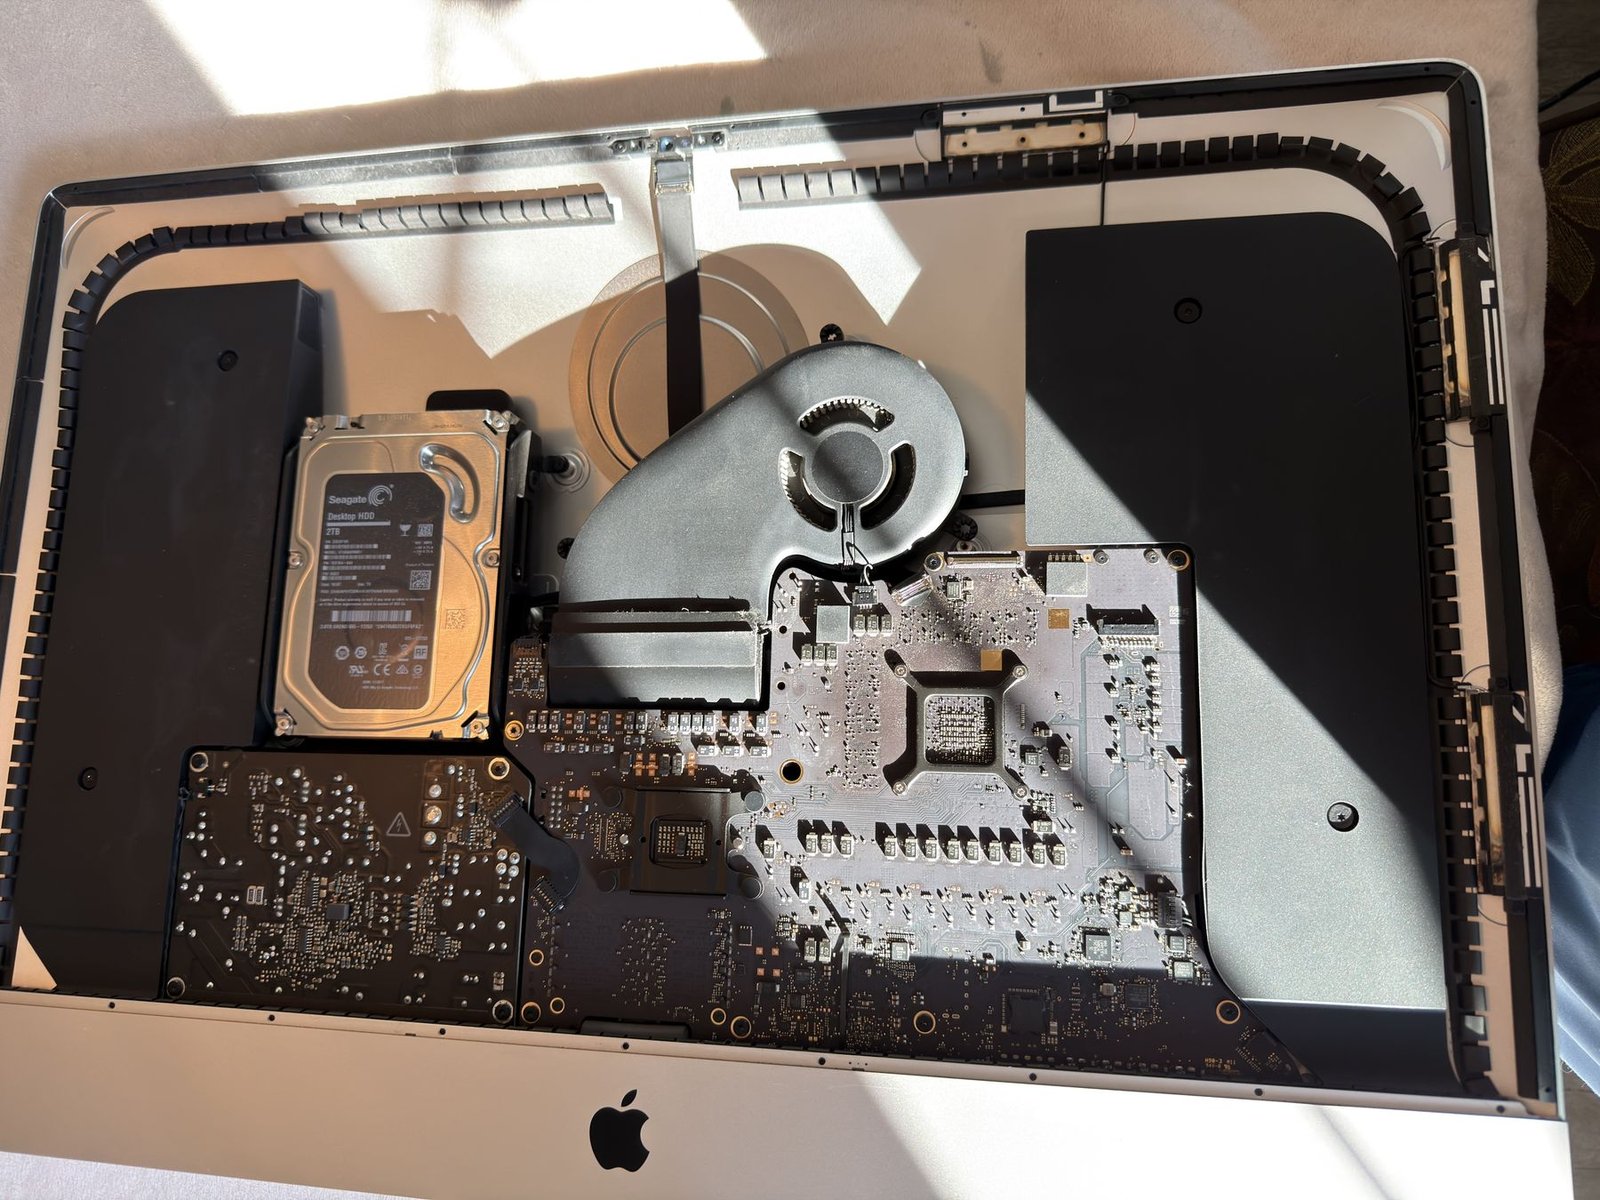
Opening the iMac and gutting the internals
This is where it gets real. The panel is held on by adhesive strips — no screws. You need the pizza-wheel cutter to score around the edge and plastic picks to hold the gap open. Take your time. The glass costs nothing to replace (it came with your $150–300 iMac), but your patience is finite.
Capacitor warning — read before touching anything
The iMac power supply retains a dangerous charge even when unplugged. Unplug it, wait at least ten minutes, and never touch capacitor leads directly. This is not safety theatre.
Screwdrivers you actually need
The iMac uses Torx almost exclusively: T6 for the SSD blade (tiny, critical, do not lose it), T8 for nearly everything else, and T10 for the hinge and large brackets. Check your set before you start — T6 is the one most often missing from cheap kits.
A gutting order that saves you from backtracking
Do it in this sequence: disconnect display cables → remove the fan → remove the SSD or hard drive → remove the power supply (mind the capacitors) → remove the logic board → remove the speakers last. Going out of order means reaching around components you have already loosened.
Speaker tip — don't unscrew more than you have to
Leave the speakers in their original mounting position for as long as possible. The iMac speaker enclosures are acoustically tuned to the chassis, and the moment you detach and reposition them you risk disturbing that seal. I learned this the hard way — my low frequencies suffered after repositioning. If something vibrates, use foam tape rather than moving it.
Installing the R1820 and wiring everything up
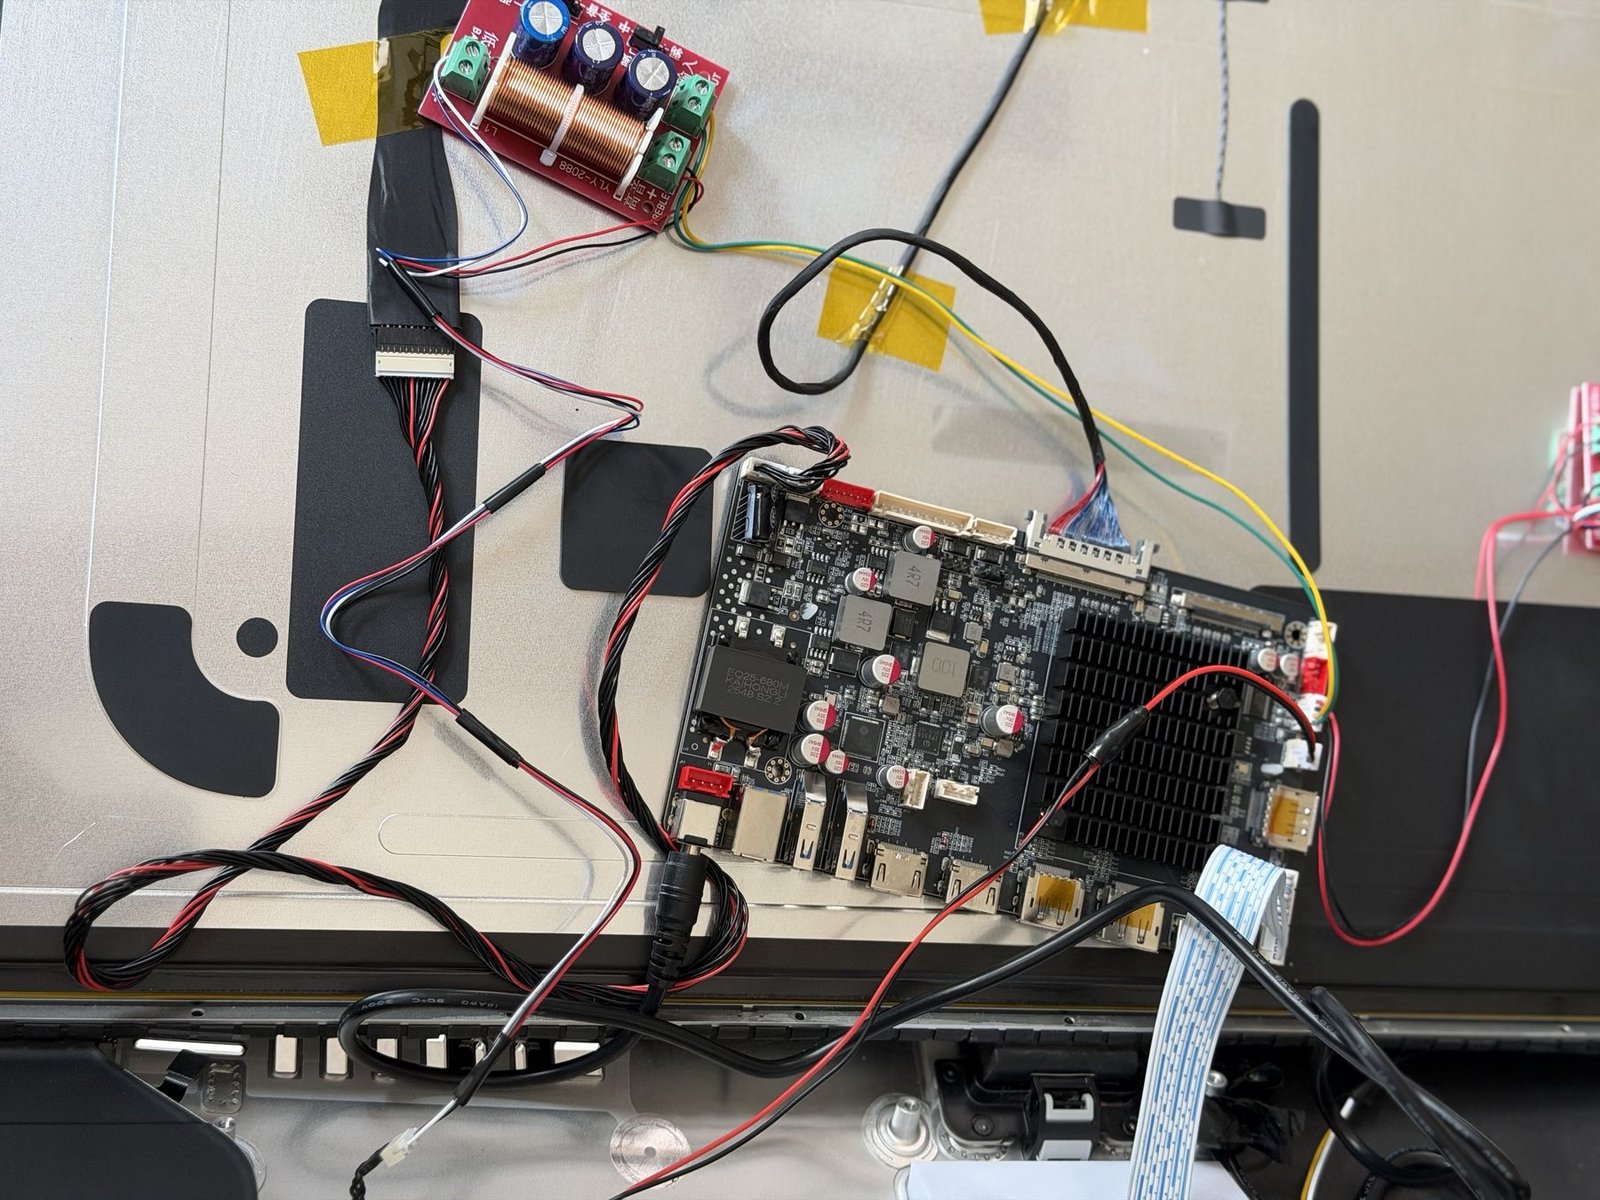
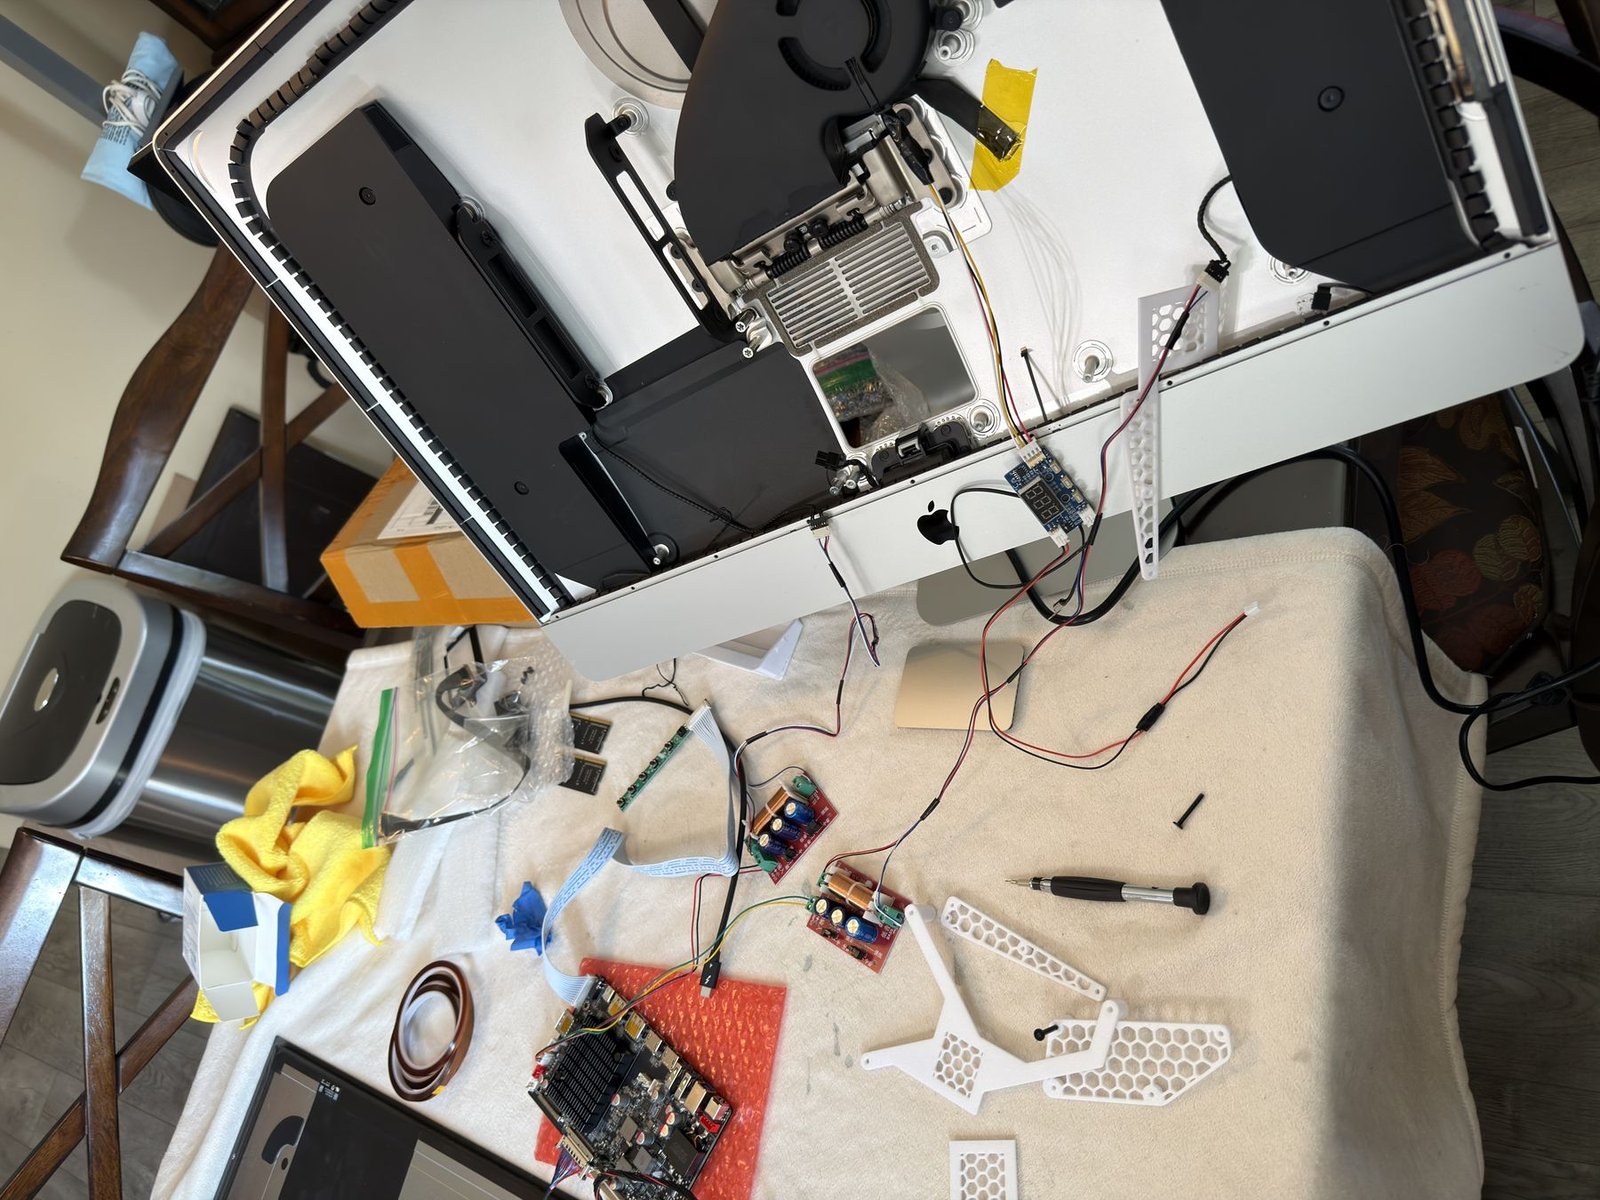
With the chassis empty you are installing three main things: the R1820 board, the 24 V power brick, and the fan controller. The brick gets wired to the iMac's original AC inlet — splice the brick's input cable (brown = live, blue = neutral, yellow/green = earth to a chassis screw) and you keep the original clean power port on the back.
Test the panel before you seal it. Connect everything outside the chassis first, verify the 5K image is clean, then install. Don't be the person who glues it shut and discovers a dead pixel.
Power input wiring — use your multimeter
The iMac has two identical black internal AC wires, and polarity does matter. Set your multimeter to AC voltage (V~, 500 range). Hold one probe against bare chassis metal as an earth reference and touch the other to each black wire in turn. The wire reading around 120 V is live; the one near 0 V is neutral. Label them before you cut anything.
For earth: the 24 V brick's green/yellow wire goes to the chassis via a screw — use the same screw point where the original iMac earthing wire was attached, so the chassis is earthed through the original path. Do not skip this.
Work at your own risk
Mains AC wiring is dangerous. This is not electrical instruction — it is a description of what I did. Verify every connection with a multimeter, double-wrap all joints, and if you are not comfortable working with mains voltage, stop and consult a licensed electrician.
Fan wiring — reuse the iMac's original fan
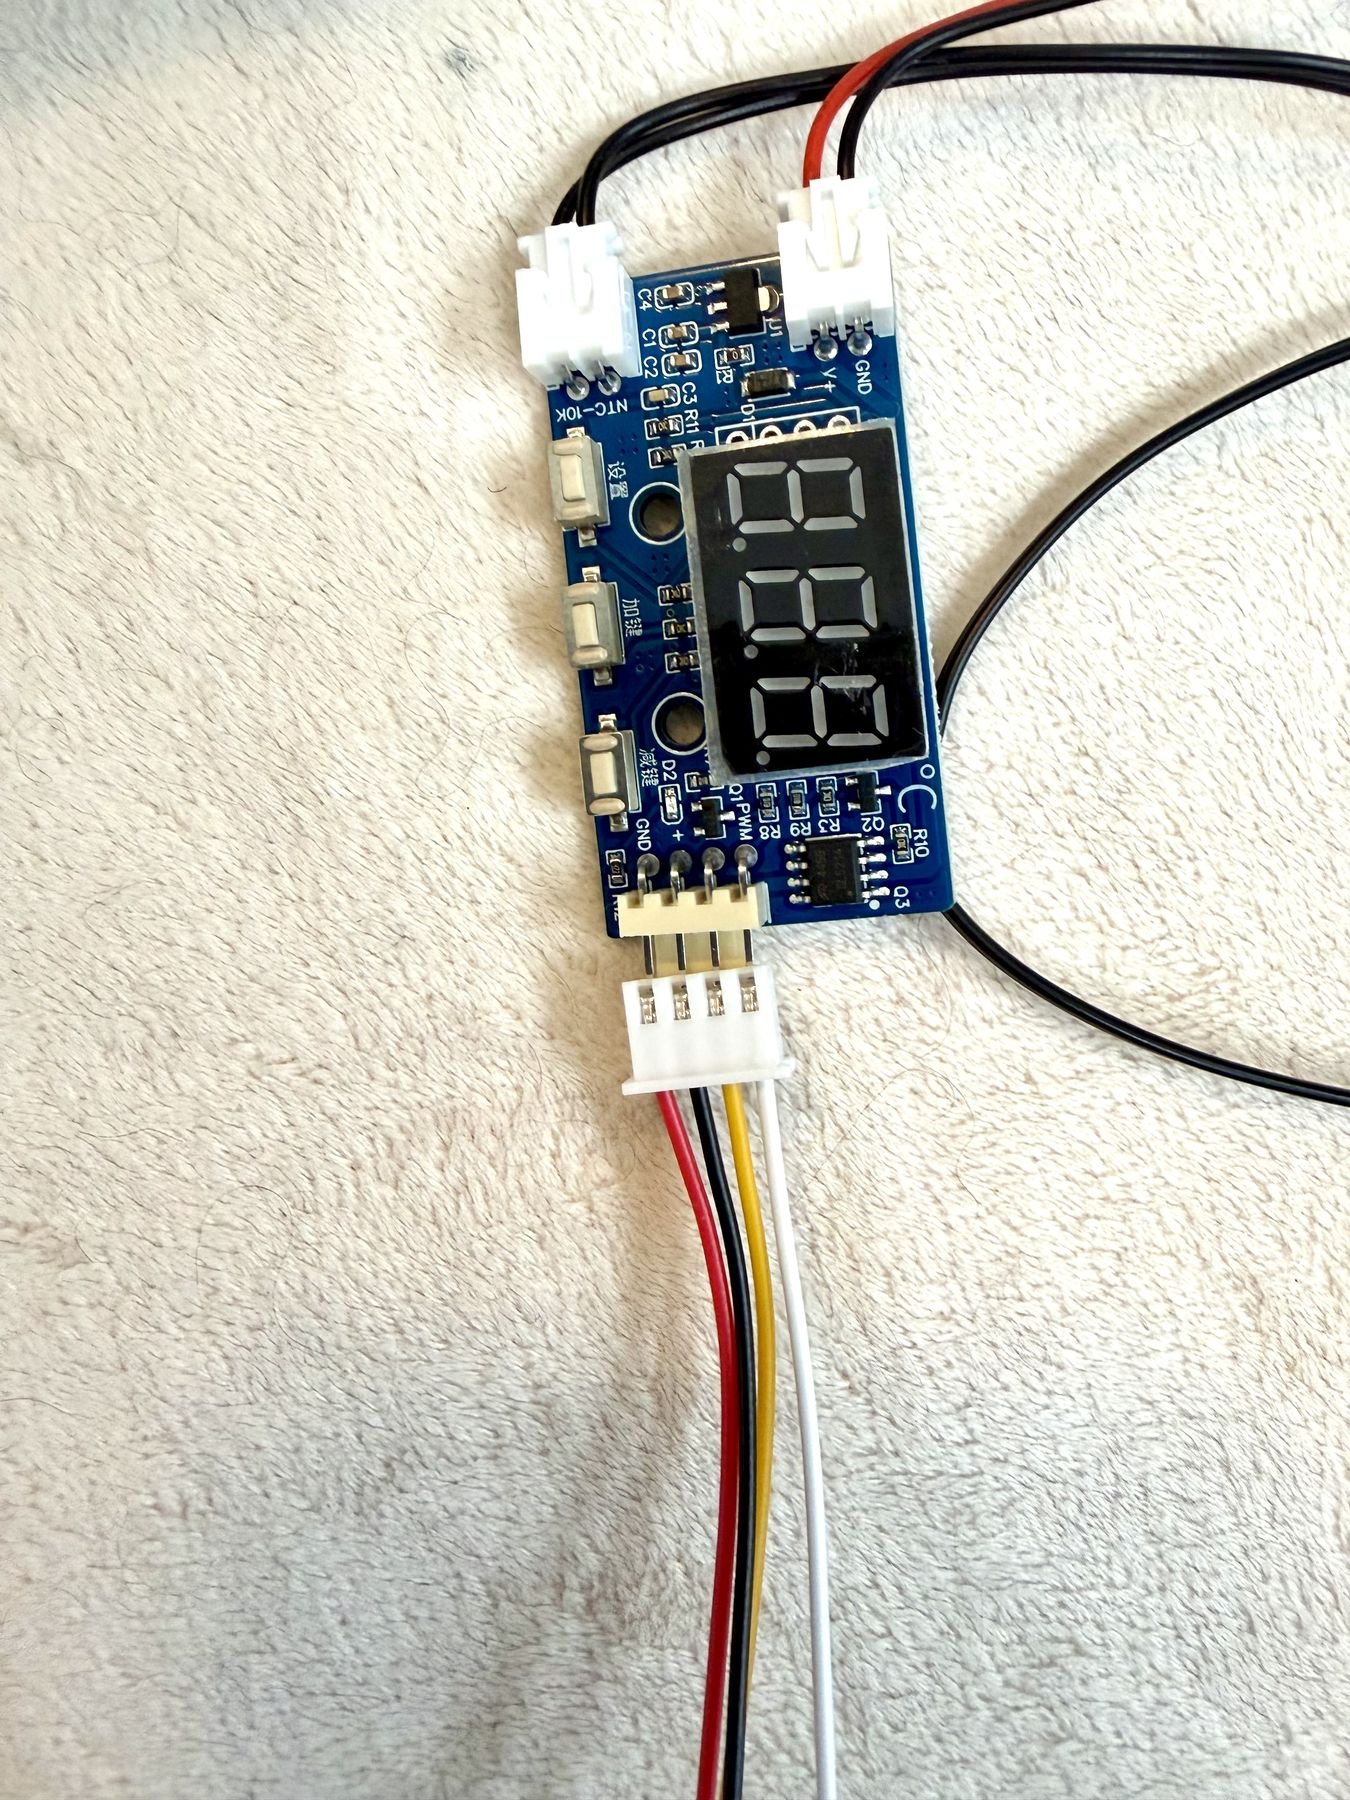
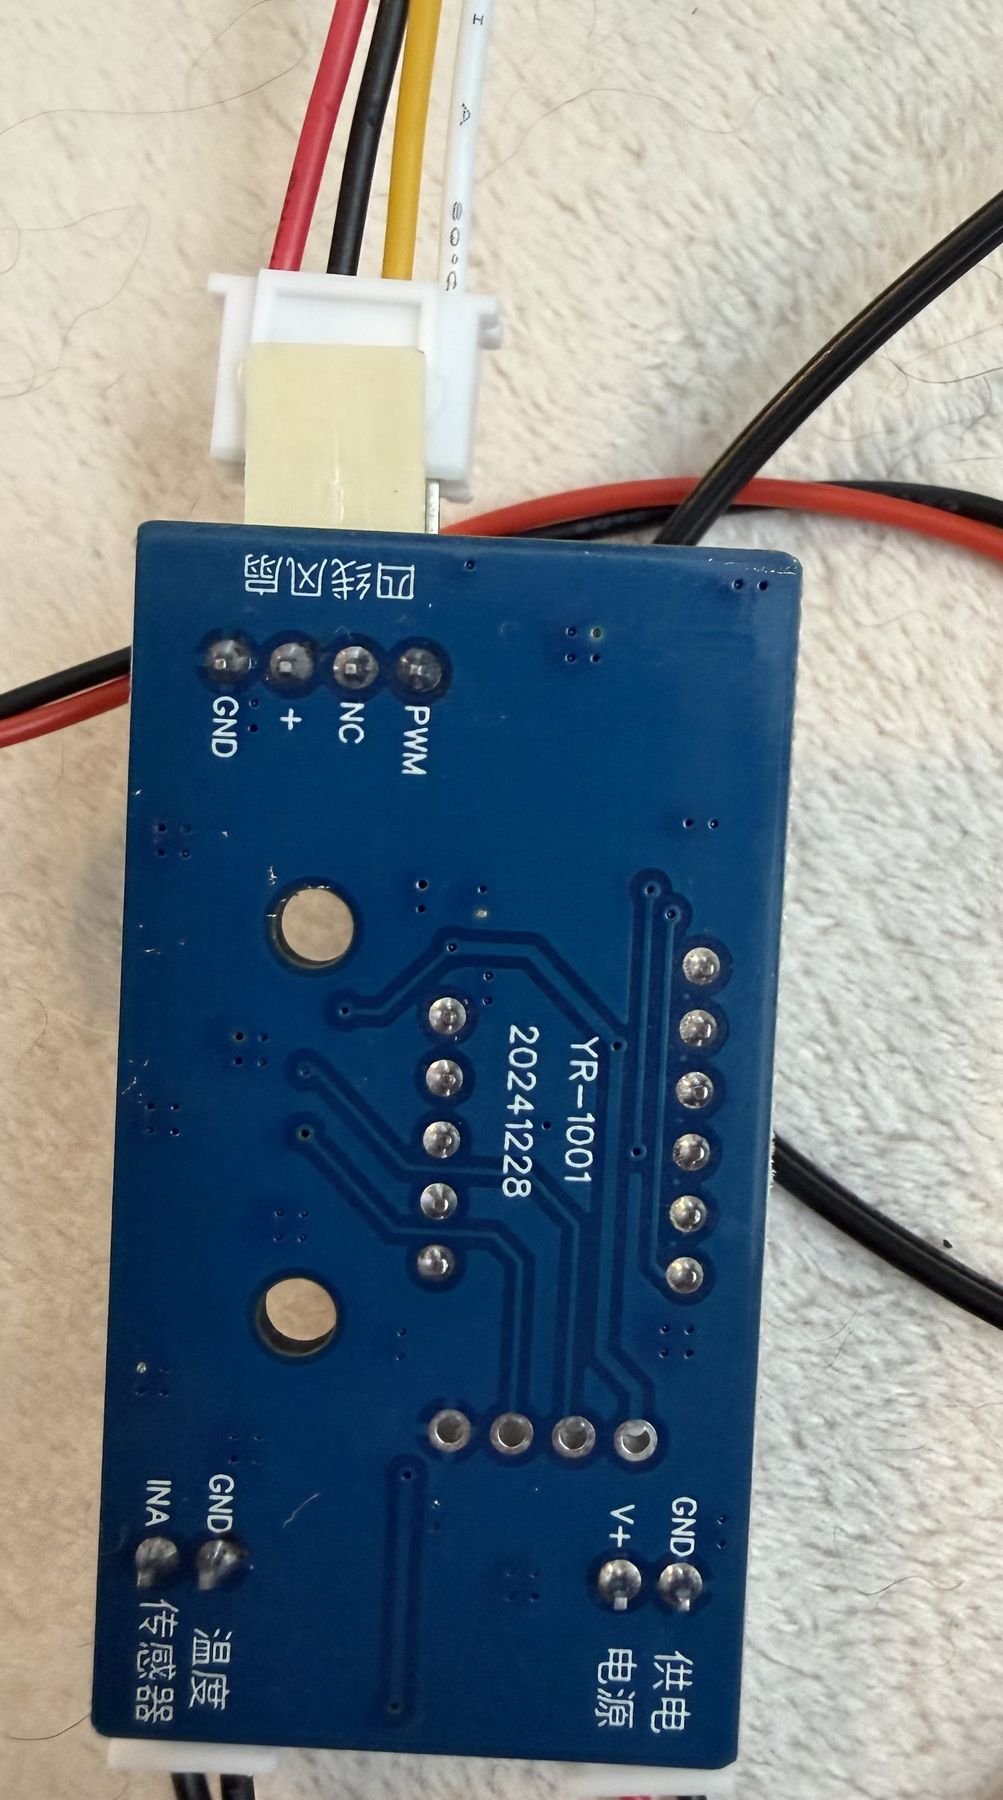
The original iMac fan is high quality and near-silent at low RPM. The R1820 has a 12 V fan header, but it is constant power with no PWM. The YR-1001 controller sits between the R1820's fan output and the iMac fan and gives you temperature-controlled variable speed. I set LA = 40 °C to start and HA = 60 °C for full speed; the R1820 barely reaches 45 °C under normal load.
The iMac power button
The original power button can drive the R1820. Solder the two button wires to diagonal pads on the K1 button of the controller board — it is non-polarised, so either orientation works. You will never have to reach around the back to switch the monitor on again.
The printed parts that make it look intentional
This is where having a Bambu Lab P1S paid off. Print in PETG — it handles the internal temperatures near the board (up to about 60 °C) without warping, unlike PLA.
Modify the STL for your USB-C cable
The default port pocket has a USB-C opening that is too small for many Thunderbolt cables with chunky connectors. I opened mine up to 12 mm × 7 mm. If you need the same, the modified STL is available — just ask.
The speaker saga
Reference only — you may not need this
Most builds will not hit these issues. The R1820 is a solid, well-engineered board and the vast majority of conversions go smoothly. I am documenting this in detail specifically so that if you do run into audio problems, there is a complete troubleshooting trail to follow. Skip ahead if your audio works — come back if it doesn't.
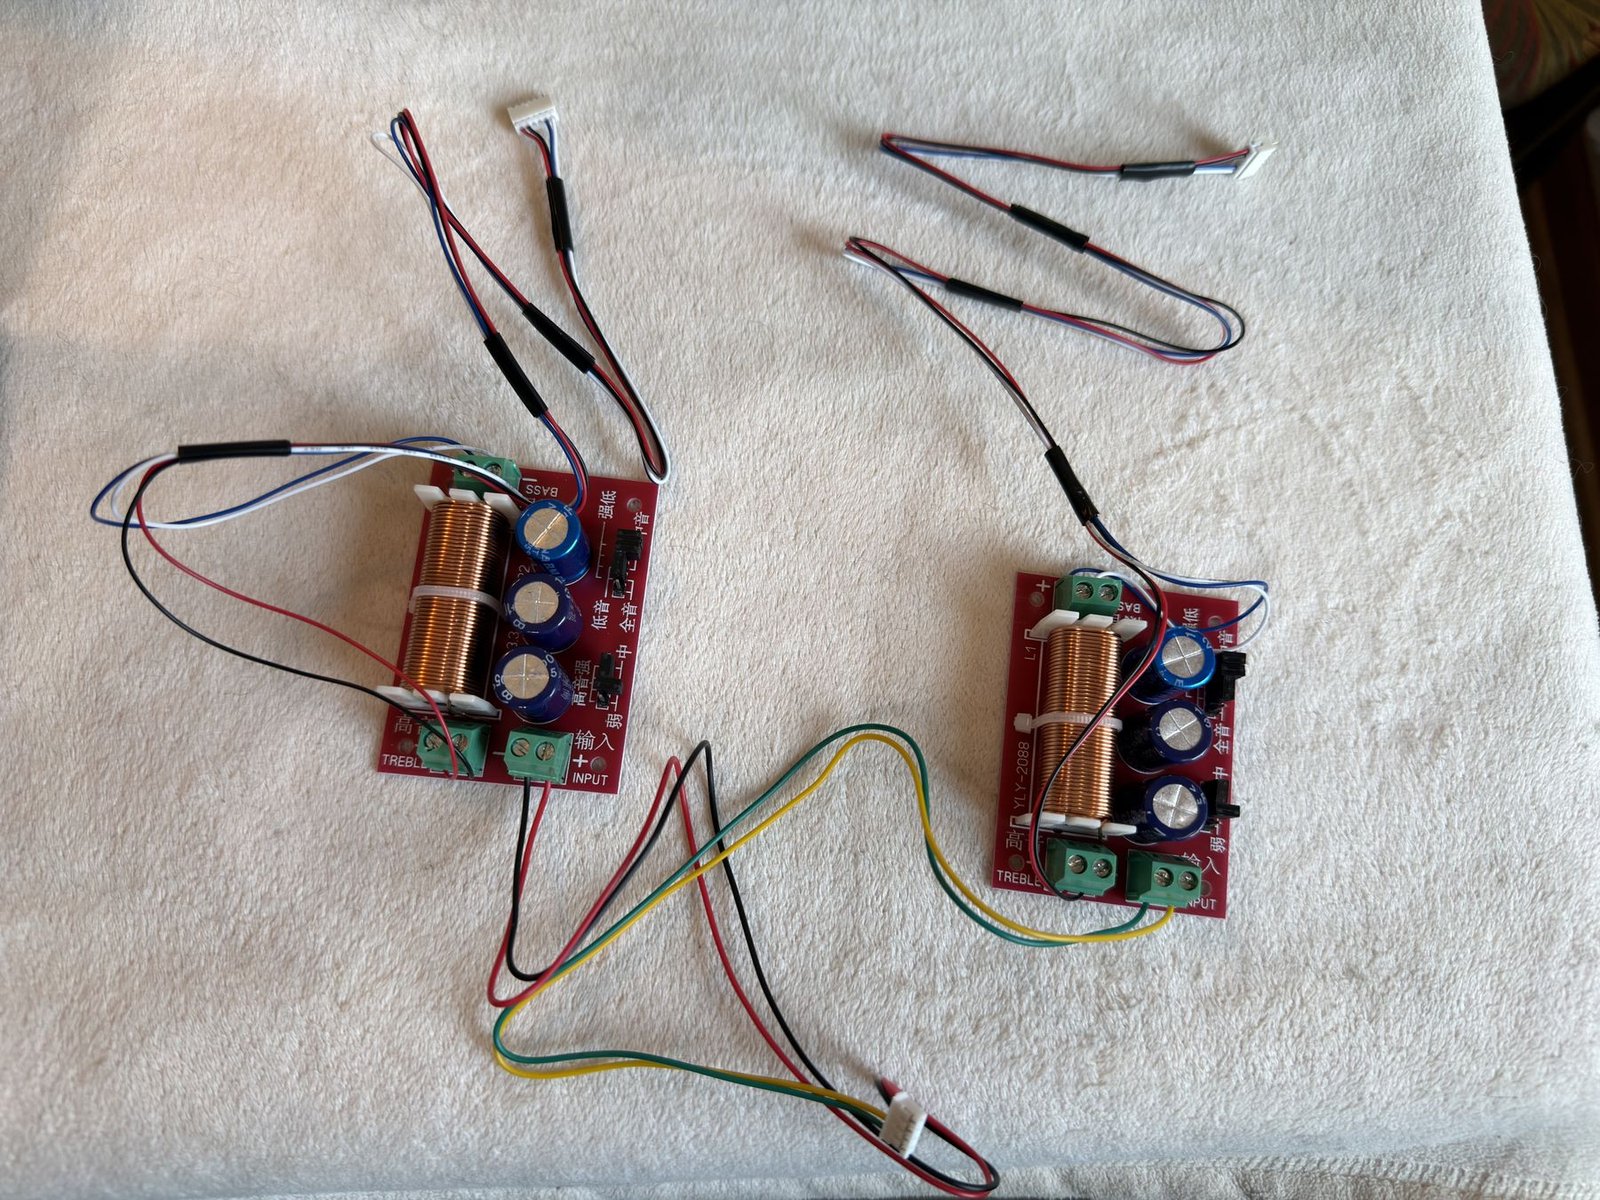
The R1820's 10 W per channel amplifier is the main reason I paid more for it over the SA1. Reusing the iMac's original speakers with the included YLY-2088 crossover boards was going to be the crown jewel of the build. Then reality showed up.
Left speaker
Zero output below 250 Hz. Less than 10% volume above it. The woofer was completely silent.
Right speaker
Perfect. Full frequency range. Exactly what the R1820 should sound like. Mocking me.
Phase 1 — the false start: testing with the panel open
Here is something nobody tells you: testing audio with the panel open is not a reliable test. With everything loose inside the chassis — wires untied, components unsecured — you get jarring and rattling that has nothing to do with actual audio quality. I kept the volume low to avoid the rattle, which made it impossible to evaluate the sound at all.
What I eventually found was that several wires were touching the aluminium chassis and vibrating at any meaningful volume. The fix: tie down every wire so nothing can move or make contact. I also used soft foam tape between components sitting close together, and heavy-duty outdoor velcro to both mount and pad the heavier items like the crossover boards near the power brick. Do all of this before testing audio.
Cable management is not optional for audio
Any wire touching the aluminium chassis becomes a rattle source at volume. Zip tie every cable run, add foam tape between components, use velcro to mount and pad heavier items at the same time. What sounds like an electronic problem is very often a loose wire vibrating against metal.
Phase 2 — the real fault: a 250 Hz cutoff on the left
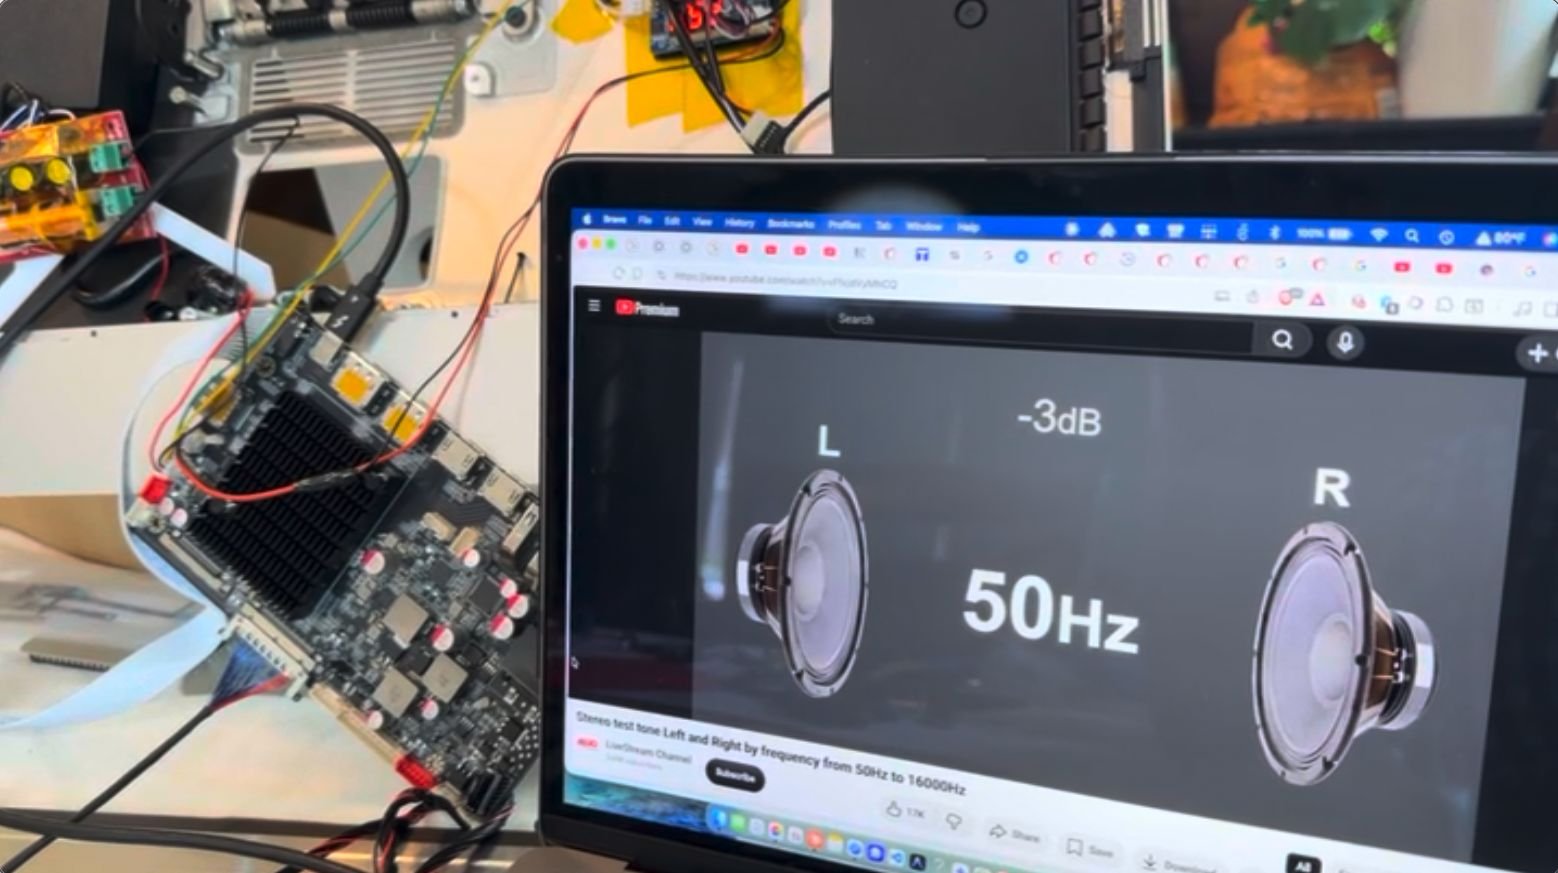
Once the physical rattling was eliminated, a genuine electronic problem remained. The 250 Hz cutoff was the clue — that is exactly where the crossover splits bass from treble, so the woofer path (handled by the inductor on the crossover board) was dead. I checked every connection, re-tightened every screw terminal, and reflowed the solder joints on the crossover board. Still nothing.
Then I swapped the left and right crossover boards between the speakers. The problem followed the left crossover board, confirming the board was defective rather than the speaker or wiring. Stonetaskin then asked me to swap the R1820's audio output wires. When I did, the problem moved to the right speaker — meaning the R1820's left channel amplifier output was also not delivering correct power.
Phase 3 — the troubleshooting sequence that actually works
If you hit audio issues, run this in order before contacting support:
The fix — external power for the crossovers
Rather than wait through multiple rounds of international shipping for a full board replacement, I took a practical route. Stonetaskin were kind enough to send replacement crossover boards, and I powered them from a separate Mean Well LRS-150-24 with an LM2596 buck converter stepping down to 12 V. That bypasses the R1820's power amplifier output entirely and feeds the crossovers from a clean, dedicated supply.
Result: both speakers working
With the external PSU powering the new crossover boards, both speakers work across the full frequency range. In the interest of honesty: the bass response after sealing is not quite what it was on the bench, most likely because of speaker repositioning during troubleshooting. The iMac speaker enclosures are acoustically tuned to the chassis — keep them in their original mounting positions wherever you can.
A word about Stonetaskin support
I want to be fair here. LU Chen and the Stonetaskin team were responsive, methodical, and never once tried to dismiss the issue. They sent replacement crossover boards without requiring me to return the originals first, and they walked through every diagnostic step with patience and real engineering curiosity. For a company selling niche DIY hardware internationally, that level of support is remarkable. Credit to their engineering team for a board that, in pure monitor performance terms, is flawless.
What I'd do differently on audio
Secure every cable before testing. Test at real volume with everything physically stable — low-volume testing with an open chassis tells you almost nothing. Run a full frequency sweep on both channels. Swap the crossover boards to verify each independently. Do all of it before sealing: thirty minutes of thoroughness saves weeks of your dining table being held hostage.
Two apps you'll want on day one
The hardware is done, but macOS needs a little help to fully control the converted monitor.
Would I do it again?
A 5K 27" monitor with built-in speakers, built out of a machine that was heading for the recycling pile, for about a third of what Apple charges for the Studio Display. The display performance is flawless. The audio journey was painful but instructive. Without hesitation — yes.
Six things I'd tell a first-timer
Wait for all parts before opening
Shipping from China takes two to three weeks. Have every component in hand before you touch the pizza wheel. The adhesive strips are one-use and patience is a finite resource.
Confirm your panel model number first
Run the ioreg command above before ordering. The board SKU depends on whether you have the LM270QQ1 or LM270QQ2 — getting it wrong means a return trip to China.
Tie down all cables before testing audio
Any wire touching the aluminium chassis becomes a rattle source at volume. Secure everything with zip ties and soft foam tape before you trust any audio test.
Test audio at real volume before sealing
Low-volume testing with a loose open chassis is nearly useless. Once cables are secured, test at medium-to-high volume, run a full 20 Hz – 20 kHz sweep on both speakers, and swap the crossover boards to verify each one. This is the hardest thing to fix afterwards.
Print the port pocket before you seal
The 3D printed RAM door replacement with built-in port access is what makes the back of the monitor look intentional rather than improvised. PETG, not PLA.
Recycle the pulled parts responsibly
The logic board, GPU, RAM and drives are all recyclable electronics. Best Buy runs a free electronics recycling program — drop them off rather than sending them to landfill.